How to Propagate Philodendron Birkin: 3 Easy Methods Guide

You’ve spent months caring for your Philodendron Birkin, admiring its stunning white-striped leaves, and now you’re ready to grow more. But the moment you pick up the scissors, doubt creeps in—what if you cut the wrong part? What if the cuttings just sit in water for weeks, never rooting, or worse, rot away? Trust me, I’ve been there too. In this guide, I’ll show you exactly how to propagate your Birkin without the guesswork—whether in water or soil—and share the tips I’ve learned to avoid those frustrating fails. Let’s turn your nervous snips into thriving new plants!
What is Philodendron Birkin?
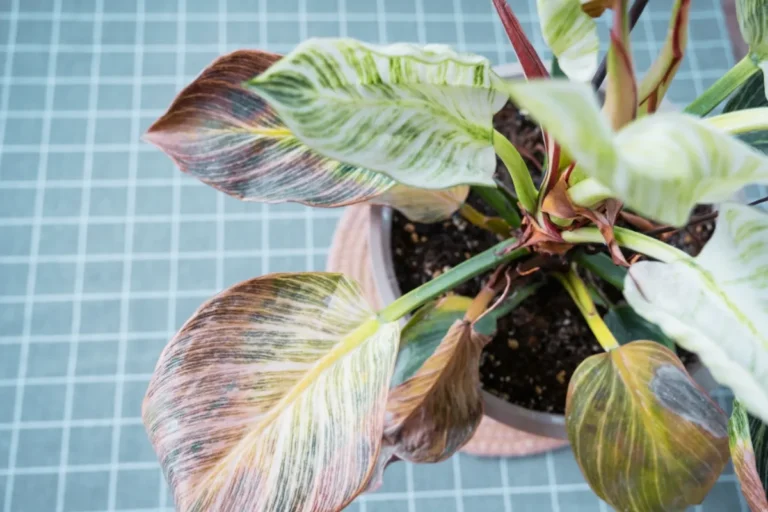
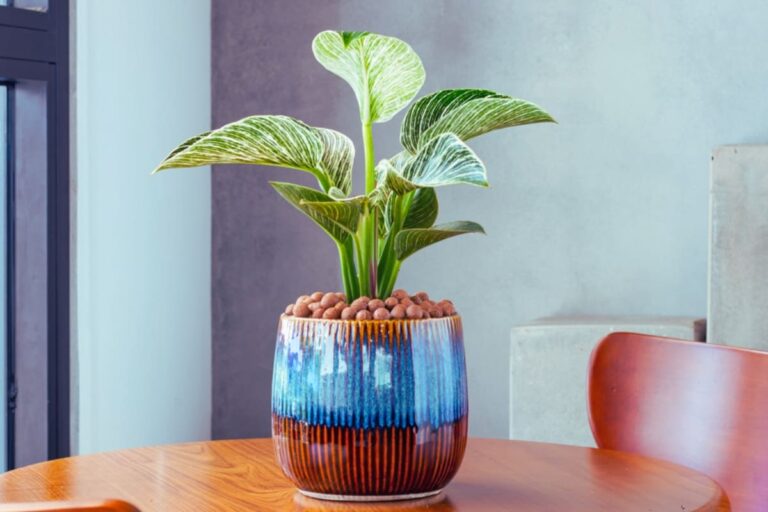
The Philodendron Birkin is a showstopper—a compact, upright houseplant with dark green leaves painted in creamy white pinstripes. It’s elegant, low-maintenance, and feels like owning a living piece of art. Every new leaf is a surprise, with patterns that can shift or even revert, keeping you excited as it grows. Perfect for plant lovers who want beauty without the fuss.
Why Should You Propagate Your Birkin Plant?
Propagating your Philodendron Birkin isn’t just about growing more plants—it’s about creating new beginnings. Imagine turning a single plant into multiple thriving Birkins, saving money instead of buying new ones. Or picture gifting a cutting to a friend, sharing the joy of this stunning plant. Even better, if your Birkin has grown leggy or uneven, propagation can breathe new life into it, giving you a fuller, healthier plant. It’s not just gardening; it’s a way to connect, save, and grow—both your plants and your passion.
Best Time to Propagate Philodendron Birkin
Timing is everything when it comes to propagating your Philodendron Birkin. The best time is during its growing season—spring and early summer—when the plant is naturally bursting with energy. Think of it like this: just as you feel more active and alive in warmer months, your Birkin is ready to grow new roots and leaves during this time. Avoid propagating in winter when the plant is dormant; it’s like asking someone to run a marathon while they’re hibernating! For the best results, choose a day when your plant looks healthy and vibrant, and you’re feeling confident to make the cut.
What You’ll Need to Propagate Philodendron Birkin
So, you’ve decided to propagate your Philodendron Birkin—how exciting! But before you grab those scissors, let’s make sure you have everything you need. Trust me, there’s nothing worse than being mid-propagation and realizing you’re missing a key tool. Here’s your go-to checklist to ensure a smooth and stress-free experience:
With these essentials ready, you’ll be all set to turn your Birkin into a thriving plant family without any last-minute scrambles. Let’s get growing!
Propagating Philodendron Birkin by 3 Methods
Expand your plant collection with these simple propagation techniques. Choose the method that works best for you!
Propagating Philodendron Birkin in Water
Ready to turn your Philodendron Birkin into a water-rooting success story? Let’s dive in! Propagating in water is not only simple but also incredibly rewarding—you get to watch those tiny roots grow day by day. Here’s how to do it like a pro:
Step 1: Choose the Perfect Stem
Look for a healthy stem with at least one node (the little bump where leaves and roots grow) and 2-3 leaves. Avoid stems that are yellowing or damaged. This is your future plant, so choose wisely!
Step 2: Make the Cut
Using clean, sharp scissors or pruning shears, cut just below the node at a 45-degree angle. A clean cut helps prevent infection and gives your cutting the best chance to thrive. Pro tip: If you’re nervous, take a deep breath—it’s just a snip away from a new beginning!
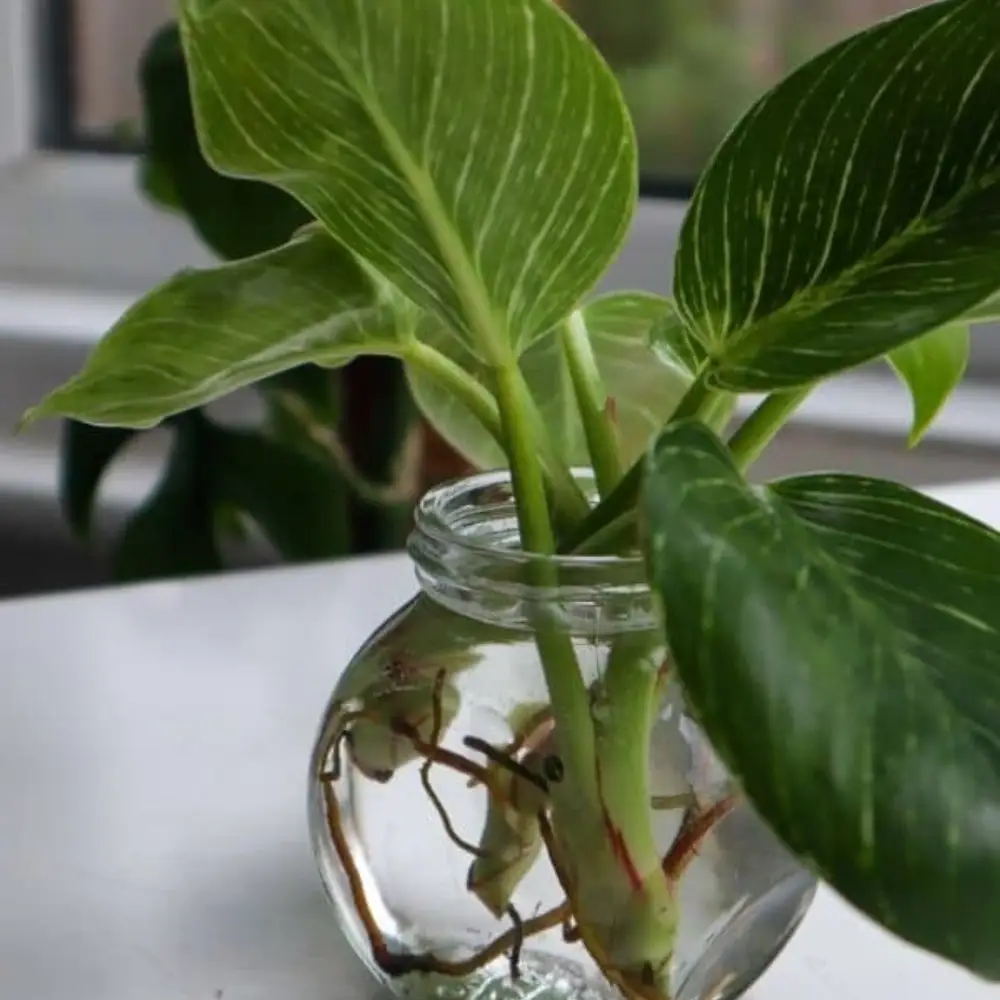
Step 3: Place in Water
Fill a clear jar or glass with room-temperature water and place the cutting inside, ensuring the node is submerged but the leaves stay above water. Clear glass works best because it lets you monitor root growth (and let’s be honest, it’s satisfying to watch!).
Step 4: Find the Perfect Spot
Place the jar in a spot with bright, indirect light. Avoid direct sunlight, which can overheat the water and harm the cutting. Think of it like a cozy nursery for your new plant baby—warm, bright, but not too harsh.
Step 5: Change the Water Regularly
Every 3-4 days, replace the water to keep it fresh and prevent bacteria from building up. This is like giving your cutting a clean, refreshing drink to keep it happy and healthy.
Step 6: Wait for Roots to Grow
Be patient! In 2-4 weeks, you should start seeing tiny white roots emerging from the node. This is the moment you’ve been waiting for—your cutting is officially on its way to becoming a full-grown plant!
Step 7: Transplant to Soil (Optional)
Once the roots are 1-2 inches long, you can transplant your cutting into a pot with well-draining soil. Keep the soil lightly moist for the first few weeks to help it adjust. If you’re not ready to move it to soil, no worries—your Birkin can thrive in water for months!
Step for Propagating Philodendron Birkin in Soil
If you’re the type who loves getting your hands dirty (literally!), soil propagation is for you. It’s a straightforward method that lets your Philodendron Birkin establish roots directly in its forever home. Here’s how to do it step by step:

Step 1: Choose the Perfect Stem
Look for a healthy stem with at least one node (the little bump where leaves and roots grow) and 2-3 leaves. Avoid stems that are yellowing or damaged. This is your future plant, so choose wisely!
Step 2: Make the Cut
Using clean, sharp scissors or pruning shears, cut just below the node at a 45-degree angle. A clean cut helps prevent infection and gives your cutting the best chance to thrive. Pro tip: If you’re nervous, take a deep breath—it’s just a snip away from a new beginning!
Step 3: Dip in Rooting Hormone (Optional)
For an extra boost, dip the cut end of the stem in rooting hormone. This step isn’t mandatory, but it can speed up root development and increase your chances of success. Think of it as a little pep talk for your cutting!
Step 4: Prepare the Pot
Fill a small pot with drainage holes with well-draining potting mix. A mix designed for aroids (like Philodendrons) works best. Moisten the soil slightly—it should feel like a wrung-out sponge, not soggy or dry.
Step 5: Plant the Cutting
Make a small hole in the soil with your finger or a pencil, then gently place the cutting inside, ensuring the node is buried. Press the soil around the stem to hold it upright. This is where your cutting starts its journey to becoming a full-grown plant!
Step 6: Find the Perfect Spot
Place the pot in a spot with bright, indirect light. Avoid direct sunlight, which can scorch the delicate cutting. Think of it like a cozy nursery for your new plant baby—warm, bright, but not too harsh.
Step 7: Water and Wait
Keep the soil lightly moist but not waterlogged. Overwatering can lead to rot, so let the top inch of soil dry out slightly between waterings. In 4-6 weeks, you should notice new growth, which means your cutting has successfully rooted!
How to Propagate Philodendron Birkin by Division
Got a mature, bushy Birkin? Division is a quick way to create multiple plants! Here’s how:
How Long Does Philodendron Birkin Propagation Take?
Philodendron Birkin propagation typically takes 2-4 weeks for roots to appear in water and 4-6 weeks in soil. For division, new growth is visible in 2-3 weeks. Factors like light, temperature, and care can affect the timeline, but patience pays off when you see those first roots or leaves!
Care for Your Newly baby Propagated Birkin
Congratulations—your propagated Birkin is ready to thrive! Here’s how to give it the best start:
With a little love and attention, your new Birkin will grow into a stunning, healthy plant. Enjoy the journey!
Problems and Solutions in Propagation
Even with the best care, propagation can hit a few bumps. Here’s how to troubleshoot common issues:
Rotting Cuttings:
Slow or No Rooting:
Yellowing Leaves:
Droopy or Wilting Cuttings:
Mold or Fungus:
Don’t worry—propagation is a learning process! With these tips, you’ll be able to tackle any issue and grow a thriving Birkin
Frequently Asked Question (FAQs)
Final Thoughts
Propagating your Philodendron Birkin is more than just a gardening task—it’s a rewarding journey of growth and connection. Whether you choose water, soil, or division, each method offers a chance to expand your plant family, share with loved ones, or revive a leggy beauty. With the right care and a little patience, you’ll soon see those tiny roots and new leaves as a testament to your efforts. Remember, every plant parent starts somewhere, and you’ve got this! Happy propagating! 🌿